

Introduction:
Salwar suits are a staple attire for women in India and across South Asia. These elegant and comfortable garments consist of a long tunic top, loose-fitting pants, and a dupatta or shawl. While you can always buy readymade salwar suits from stores or online, there is something special about stitching your own clothes. Besides, when you stitch your own salwar suit, you can customize the fit, fabric, style, and embellishments to your liking. So, let’s get started with this DIY guide on how to stitch your own salwar suit.
Materials Required:
Before diving into the stitching process, gather the following materials:
- Unstitched Salwar suit fabric
- Matching thread
- Scissors
- Needles
- Measuring tape
- Chalk or fabric marker
- Embellishments (optional)
- Sewing machine
Step 1: Choosing the Right Fabric and Design
Selecting the fabric for your Salwar suit is crucial. Consider the occasion, season, and personal preferences. Unstitched suits come in various materials like cotton, silk, georgette, etc. Choose a design that aligns with your style and comfort.

Step 2: Taking Accurate Measurements
Carefully measure yourself to ensure a well-fitted Salwar suit. Measure your bust, waist, hips, and length required for the kameez (top), salwar (bottom), and dupatta (scarf).

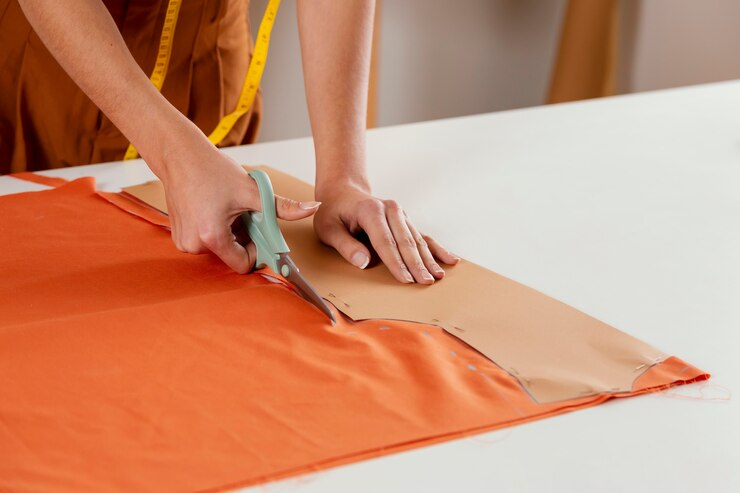
Step 3: Cutting the Fabric
Using the measurements as a guide, mark and cut the fabric pieces for the kameez, salwar, and dupatta. Precision is key here, so take your time and double-check measurements.
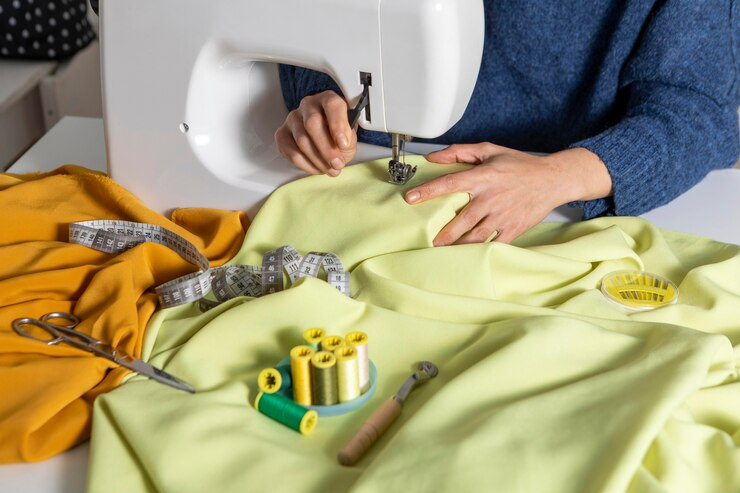
Step 4: Stitching the Kameez (Top)
a. Begin with stitching the sides of the kameez together, leaving openings for armholes and neckline.
b. Hem the bottom of the kameez and sleeves.
c. Create the neckline and finish it with suitable embellishments or embroidery.
Step 5: Crafting the Salwar (Bottom)
a. Sew the inner seams of the salwar together, leaving space for the waistband.
b. Add the waistband or drawstring, ensuring it matches your waist measurements.
c. Complete the hemline of the salwar.
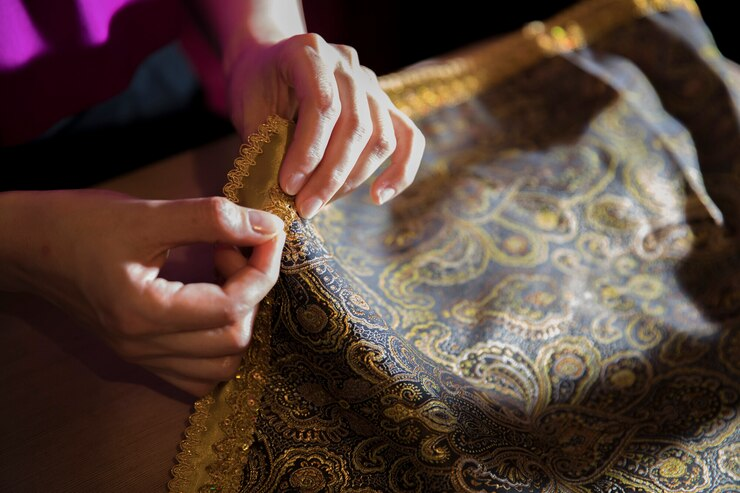
Step 6: Designing the Dupatta (Scarf)
a. Hem all sides of the dupatta neatly.
b. Embellish or decorate the dupatta edges as desired.
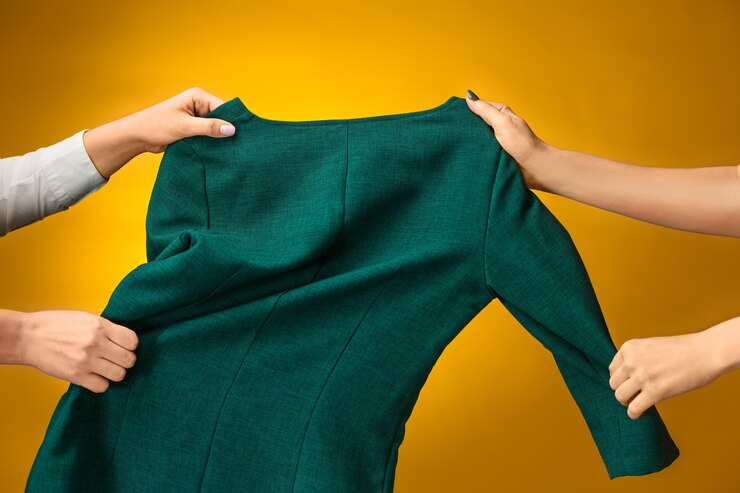
Step 7: Finishing Touches
Once all components are stitched together, give your suit a final check for any loose threads or uneven stitches. Iron the suit carefully to ensure a polished look.
Tips and Tricks:
- Use good quality fabric that is comfortable to wear and easy to stitch
- Take precise measurements and double-check before cutting the fabric pieces
- Practice stitching on a sample fabric or scrap fabric before working on the actual pieces
- Use a sharp pair of scissors and change your needles regularly
- Use matching or contrast threads for added effect
- Don’t rush the process and take breaks if needed
Conclusion:
Stitching your own unstitched Salwar suit allows you to express creativity while crafting an outfit that fits perfectly. With patience, practice, and attention to detail, anyone can master the art of sewing their Salwar suit. Experiment, enjoy the process, and revel in the satisfaction of wearing your self-made creation. Happy stitching!
If you are looking for ready-to-stitch materials with great designs, look no further than Thestitching.com. We offer a wide range of unstitched salwar suit sets that are perfect for both beginners and experienced tailors. From traditional prints to modern patterns, you can find the perfect fabric to suit your taste and style. Visit Thestitching.com today to explore our collection and start your stitching journey hassle-free!
So, go ahead, unleash your creativity, and create your own stunning salwar suit with the help of Thestitching.com!
If you’re a beginner looking to stitch your own salwar suit, here are some fabric collections from Thestitching.com that we recommend: